.svg)
Learning how to install home security cameras does not have to be complicated or stressful. With a bit of planning, the right tools, and a clear checklist, you can protect doors, windows, and driveways more effectively. The goal is simple: clear coverage, reliable recording, and easy access to your footage.
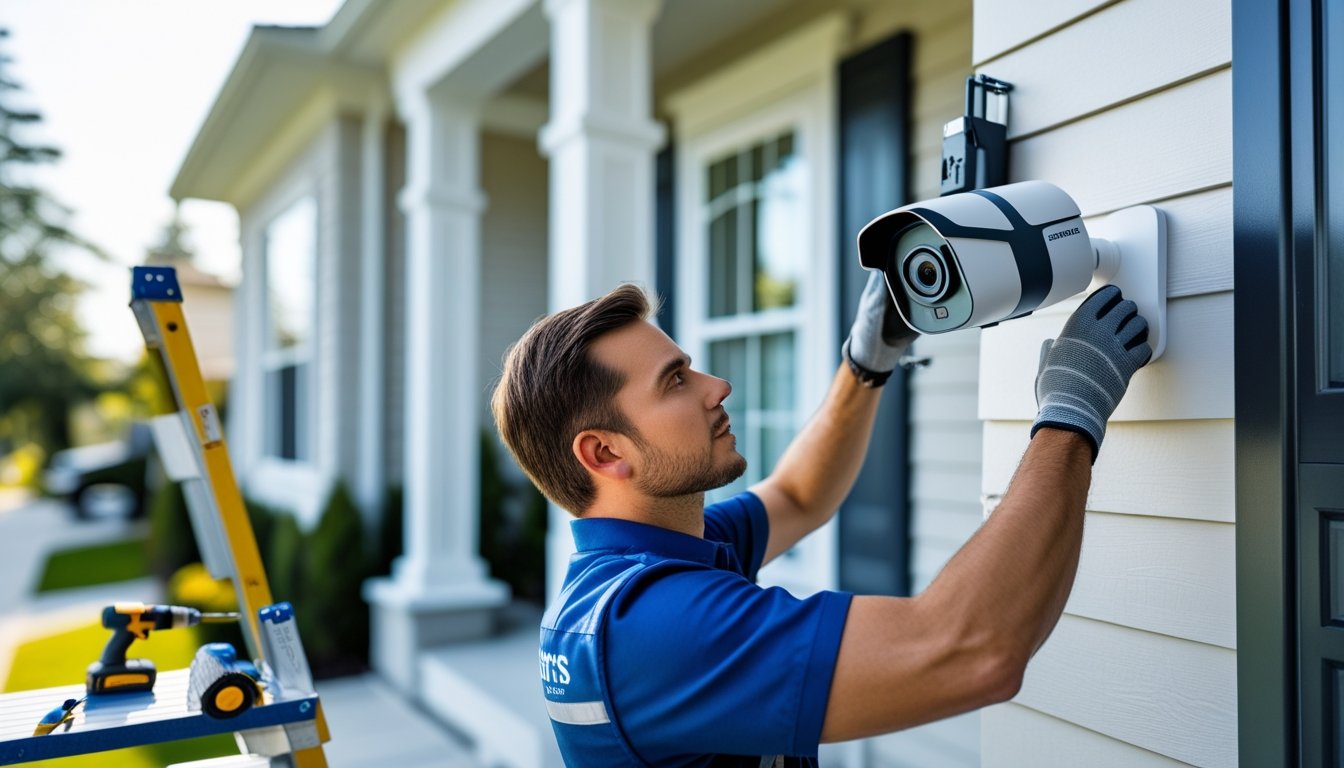
With licensed technicians and fast response across Texas, Alarm Masters helps homeowners choose, place, and set up cameras that actually match how they live. Whether you prefer DIY or professional help, understanding the basics of placement, wiring, and Wi-Fi makes smarter decisions easier.
In this guide, we will cover how to plan your layout, pick the right camera types, prepare your network, and complete both wired and wireless installs. Use these steps as a practical roadmap for installing home security cameras that work when you need them most.
Planning Your Home Security Camera Installation
To set up your home security cameras effectively, focus on understanding your security needs, choosing the best spots for cameras, and picking camera types that fit those needs. Proper planning will help you cover important access points and avoid blind spots.
Assessing Security Needs
Start by identifying what areas of your home you want to protect. Common targets include entry doors, windows facing the street, driveways, and backyard gates. Think about any past security concerns or vulnerable spots.
Decide if you want continuous monitoring or motion-triggered alerts. Continuous recording uses more storage but captures everything. Motion-activated cameras save space and send alerts when activity is detected.
Consider your budget and technical comfort. Some systems are simple DIY setups, while others need professional installation. Knowing your goals clearly helps you pick the right system and installation plan.
Selecting Camera Locations
Place cameras where they can capture clear views of entrances, driveways, and common pathways. Mount cameras high enough to avoid tampering but angled to cover large areas. Avoid pointing cameras directly at bright lights or windows, which can cause glare or poor images.
Inside, focus on main hallways, stairways, and shared spaces for extra security. Outdoor cameras should cover the front and back yards, garages, and any side doors.
Use a checklist to cover all points:
- Front door and porch
- Back door and patio
- Driveway and garage
- Ground floor windows
- Common indoor areas
Walk your property at night to confirm lighting conditions. Add lights or adjust camera placement where needed to maintain clear visibility.
Identifying Camera Types
Choose between wired and wireless cameras based on your home's layout. Wired cameras offer stable connections and constant power but may need professional installation. Wireless cameras are easier to install and can be placed flexibly, but require regular battery changes or reliable Wi-Fi.
Consider integrating cameras with smart home systems for remote monitoring. Matching camera capabilities with your key security needs improves overall protection and supports your plan for how to install home security cameras in the most effective way.
Choosing the Right Home Security Cameras
Picking the best security cameras depends on your home's layout, where you want coverage, and how you plan to use the system. You want cameras that match your needs for reliability, installation ease, and key features like night vision or motion detection.
Wired vs. Wireless Cameras
Wired cameras offer a steady connection and constant power supply. They tend to be more reliable and less prone to interference, but require professional installation, which might mean drilling and running cables.
Wireless cameras give you flexibility in placement and easier installation. They rely on Wi-Fi, so signal strength matters. Battery-powered models reduce wiring but need regular charging or battery replacement.
Choose wired if you want long-term stability with less maintenance. Choose wireless if you prefer quick setup and easy adjustment, especially in hard-to-wire areas.
Indoor vs. Outdoor Models
Indoor cameras focus on monitoring rooms and entry points inside your home. These cameras usually have less weatherproofing but come with features tailored for indoor lighting and smaller spaces.
Outdoor cameras need to withstand elements like rain, wind, and dust. Look for waterproof ratings and durable materials. Outdoor cameras often include features like night vision, motion alerts, and wider viewing angles.
Identify high-risk zones around your property to decide where indoor or outdoor cameras go. Proper placement ensures better image quality and coverage.
Key Features to Consider
Focus on video quality, and aim for at least 1080p resolution to provide clear images. Look for night vision to capture details in low light. Motion detection helps alert you to activity without constantly recording.
Check if the system offers remote access so you can view live or recorded footage on your phone. Consider storage options like cloud storage or local SD cards for saving footage.
Also, think about integration with other smart devices or alarms to create a connected security setup that fits your lifestyle and needs. This helps you decide how to install home security cameras in a way that supports your daily routines.
Preparing for Installation
Before you start installing your home security cameras, it is important to get everything ready. This includes having the right tools on hand, making sure your internet connection is strong, and knowing the rules about camera placement in your area. These steps set the foundation for a smooth installation.
Gathering Tools and Equipment
To install your cameras efficiently, gather all the necessary tools first. You will typically need:
- A drill with appropriate bits
- Screwdrivers (both flathead and Phillips)
- A ladder for high mounting points
- Cable clips or zip ties to manage wires
- A tape measure for accurate placement
Also, check that your security cameras come with mounting brackets, power adapters, and instruction manuals. Having everything ready before you begin helps avoid delays and prevents trips back to the store.
If you are installing wired cameras, prepare an extra cable in case you need to reach farther than expected.
Ensuring Network Connectivity
Most modern security cameras rely on Wi-Fi or wired Ethernet connections for live streaming and alerts. Confirm your home Wi-Fi covers the area where cameras will be installed. Weak or spotty signals can cause downtime.
Position your router or add Wi-Fi extenders to strengthen the signal if needed. For wired setups, plan the route for Ethernet cables to keep them hidden and secure.
Use a network speed test to verify your internet can handle the video load, especially if you have multiple cameras. Reliable connectivity ensures your system works without interruptions.
Checking Local Regulations
Before mounting cameras, learn about the laws where you live. Many places have rules about privacy and surveillance, like avoiding pointing cameras at neighbors’ homes or public spaces without permission.
Texas law allows homeowners to install security cameras on their property, but restricts recording audio without consent. If you rent or live in a community with rules, check your lease or homeowner association guidelines.
Understanding these regulations helps you stay legal and maintain good neighbor relations. If uncertain, consult a professional installer licensed in Texas (#B-06372) to guide you on compliance.
Installing Wired Security Cameras
Wired security cameras require careful planning to ensure strong connections and steady power. The cables must be routed safely, cameras mounted securely, and power connected reliably to keep your system running without interruption.
Running Cables Safely
When running cables, plan the route to avoid damage and interference. Use cable conduits or raceways along walls to protect wires from weather and pests. Avoid running cables near high-power lines, which can cause signal interference.
Make sure to leave extra cable length at corners for easier adjustments. For outdoor cameras, use weather-resistant cables designed for your environment. Seal all outdoor openings to keep moisture out and protect connections.
Label both ends of each cable to keep track during setup. Use cable clips or ties to secure cables neatly and prevent tripping hazards or accidental disconnection.
Mounting the Camera
Choose a stable spot with a clear view of the area you want to cover. Mount the camera on a solid surface like a wall or ceiling using the brackets included in your kit.
Before final mounting, test the camera angle and coverage by temporarily securing it with tape or clamps. Use a drill to pre-make holes for screws, ensuring mounting is secure and vibration-free.
Keep cameras out of direct sunlight to avoid glare and maintain image quality. Adjust the angle so the camera covers entry points like doors and windows effectively.
Connecting to the Power Source
Wired cameras need a reliable power supply to work without interruption. Most wired systems use either a separate power adapter or Power over Ethernet (PoE) technology, which provides power and data over one cable.
If using standard power adapters, connect each camera to an outlet near the installation point. For PoE setups, connect the camera to a PoE switch or injector that supplies power through the Ethernet cable.
Make sure power sources are protected with surge protectors to prevent damage from electrical spikes. Confirm all connections are tight and secure to avoid power loss or signal drops.
Setting Up Wireless Security Cameras
Setting up wireless cameras means focusing on where to place devices for strong signals, pairing them properly with your system, and protecting your network. Each step helps ensure your cameras work smoothly and keep your home secure.
Positioning for Optimal Signal
Place your cameras where they get a clear, strong Wi-Fi signal. Avoid walls made of thick concrete or metal, which can block or weaken signals. Outdoors, keep cameras within your router’s range without many obstacles like trees or large structures.
Look for spots that give good coverage of entry points or vulnerable areas. Mount cameras high enough to prevent tampering but aimed to capture clear views.
Test signal strength before final installation. Use your phone or a Wi-Fi analyzer app to check signal quality. Strong connections reduce lag and improve video quality.
Syncing With Base Station
Pair each camera with your security system’s base station or app according to the manufacturer’s instructions. This usually involves powering the camera, entering your Wi-Fi information in the app, and waiting for the device to connect.
Keep cameras and the base station within the recommended distance to avoid connection drops. If your system supports it, update the firmware during setup to ensure the latest features and security fixes.
Verify that each camera is online and recording properly before completing installation. Check live views and alerts to confirm full integration.
Securing Your Wi-Fi Network
Protect your wireless cameras by securing your Wi-Fi network. Use a strong, unique password for your router and change default usernames and passwords. Enable WPA3 or WPA2 encryption on your router to guard against unauthorized access.
Disable features like WPS that can create security gaps. Keep your router’s firmware updated to protect against vulnerabilities. Consider setting up a separate network or guest network just for your cameras to isolate them from other devices.
Monitor network access regularly to catch and stop any suspicious activity early.
Configuring Home Security Cameras
To get the most from your security cameras, you need to adjust settings for clear images, set alerts that fit your needs, and connect cameras to your smart home devices. These steps complete the process for how to install home security cameras and configuring them correctly.
Adjusting Camera Settings
Start by setting your camera’s resolution to balance image clarity and storage use. Higher resolution gives sharper video but uses more space. Adjust the frame rate so motion looks smooth but does not overload your system.
Next, position the motion detection zones carefully. Mark only the areas you need monitored to reduce false alarms from trees or passing cars. Set the sensitivity level to catch real movement without constant alerts.
Check and adjust night vision settings if available. Make sure infrared lights cover the area evenly for clear images in low light. Test your camera’s audio if it has a microphone, ensuring the volume and clarity meet your needs.
Setting Up Alerts and Notifications
Configure alerts to notify you immediately of activity. Choose how you want to receive them: push notifications, emails, or text messages. Set alert schedules to avoid unwanted notifications during known busy times.
Use geofencing if your system supports it. This turns alerts on or off based on your phone’s location, so you get notifications only when you are away. Customize alerts by area or camera, focusing on entry points like doors and garages.
Review the alert history regularly. Make sure your phone or device is set to allow notifications from the camera app to avoid missed alerts.
Integrating With Smart Home Devices
Connect your cameras with your smart home network for smoother control. Link them to hubs like Amazon Alexa, Google Assistant, or Apple HomeKit for voice commands and automation.
You can program routines, such as turning on lights when motion is detected or arming cameras when you leave. Integration also allows viewing live feeds on smart displays or TVs without opening the app.
Ensure your camera system supports the smart platforms you use before buying. Keep your network secure with strong passwords and regular updates to protect your devices and data.
Testing and Troubleshooting
After installing your home security cameras, it is important to confirm they cover the right areas, capture clear video, and work without errors.
Checking Camera Angles and Coverage
Start by reviewing the camera’s field of view. Adjust the angle so it captures key points such as entryways, yards, or driveways. Avoid placing cameras too high or pointing directly at bright light sources, which can reduce video quality.
Walk through the coverage area while monitoring the live feed. Ensure no blind spots are left where a person could hide. If needed, reposition the cameras for better coverage or add more devices.
Use the camera’s app or software to zoom and pan the image, confirming the view includes all critical zones. The goal is clear, unobstructed sightlines that capture relevant activity.
Verifying Video Recording
Confirm that your camera records video properly by checking the storage device or cloud service. Look for recent footage and test playback for smoothness and clarity.
Verify automatic recording triggers, such as motion detection or scheduled times, are working correctly. Walk within the camera’s range to see if it starts recording as expected.
Make sure your device has sufficient storage space or cloud plan limits to avoid stopping recordings. Keeping video quality settings balanced avoids large files that fill storage too fast.
Resolving Common Issues
If your cameras do not work as planned, start with power and connections. Confirm all cables are plugged securely and cameras have power. For wireless cameras, check Wi-Fi strength.
If the video is blurry, clean the camera lens and adjust focus if possible. Address app or software glitches by restarting the system or reinstalling the app. When connectivity or recording fails repeatedly, consider resetting the camera to factory settings.
If problems continue, contact your security provider for licensed technician support.
Maintaining and Upgrading Your Home Security System
Keeping your home security cameras working well and up to date involves regular care, timely updates, and expanding your coverage if needed.
Routine Maintenance Tips
Regular maintenance ensures your security cameras stay reliable. Start by cleaning the camera lenses gently with a soft cloth every few weeks to remove dust, dirt, and spider webs that can blur the image.
Check camera mounts and brackets to make sure they are secure and have not shifted. Inspect cables and power sources for signs of wear or damage. Replace any faulty components promptly to avoid downtime.
Test your cameras periodically by viewing live footage and reviewing recordings to confirm they are capturing clear images and sending alerts correctly. Keep camera firmware and software updated to improve performance and fix bugs. Schedule a professional inspection at least once a year to ensure the system meets safety and compliance standards.
Updating Firmware
Firmware updates improve your cameras’ functionality, fix security holes, and sometimes add new features. Check the manufacturer’s website or your camera app for notifications about updates.
Download updates only from official sources to avoid risks. Before updating, ensure your cameras have stable power and internet connections to prevent interruptions. Follow instructions closely, as interrupted updates can cause system errors.
After updating, test your cameras to confirm everything works properly. If your system supports automatic updates, enable this feature to save time and ensure you always have the latest security patches.
Expanding Camera Coverage
Expand your camera system when you notice blind spots or want to monitor additional areas. Start by evaluating your property’s layout and identifying vulnerable or high-traffic zones like side entrances, garages, or backyards.
Choose cameras with the right features for each location, such as wide-angle lenses, night vision, or weatherproof housings. Plan wiring routes or ensure strong wireless signals for new cameras.
Integrate additional cameras with your existing system to view all footage from one app or recorder. If expansion seems complex, licensed technicians can design and install a seamless, upgraded system tailored to your needs.
Confidently Protect Your Home With Cameras
Now that you know how to install home security cameras, you can plan coverage, choose the right equipment, and complete setup with fewer surprises. Focus on clear views of entry points, strong network connections, and well-tuned alerts so your system works when it matters most.
If you would rather not handle every step yourself, Alarm Masters offers licensed, fast, and comprehensive support across Texas, from initial planning to final testing. A professional walkthrough can confirm your cameras are placed correctly, configured safely, and ready for everyday use.
Whether you are upgrading an existing setup or starting from scratch, use this guide as a checklist and take action on your next step today. For expert help with design, installation, or troubleshooting, Schedule service now and secure your home with a system you can trust.
Frequently Asked Questions
Is It Hard To Install Home Security Cameras Myself?
For most modern systems, installing home security cameras is manageable if you can use basic tools and follow step-by-step instructions. When you understand how to install home security cameras, the hardest part is usually planning locations and running wires neatly, not the actual mounting.
Where Should I Place Home Security Cameras First?
Start with your main entry doors, driveway, and any ground-floor windows that are hidden from the street. Then add cameras to high-traffic indoor areas like hallways and stairways so you can see movement between rooms and entry points.
Should I Choose Wired Or Wireless Home Security Cameras?
Wired cameras are better if you want a stable connection and do not mind drilling and running cable. Wireless cameras are better if you want easier installation, more flexible placement, and minimal drilling, as long as your Wi-Fi signal is strong where you mount them.
Do I Need Wi-Fi To Install Home Security Cameras?
You do not always need Wi-Fi, but most modern systems use it for alerts and remote viewing on your phone. If you do not have Wi-Fi where you install cameras, choose a system that records to a local recorder or SD card and plan to review footage directly from that device.
How Many Cameras Do I Need For My Home?
A typical single-family home often starts with four to six cameras. Plan for at least one at the front door, one at the back door, one watching the driveway or garage, and one or two inside covering main hallways or common areas.
Are There Legal Issues With Installing Home Security Cameras?
You are generally allowed to install cameras on your own property as long as they do not intrude on areas where people expect privacy, such as bathrooms or neighbors’ fenced yards. Many areas also limit audio recording without consent, so review local laws before you place and configure your system.
How Can I Tell If My Cameras Are Working Correctly After Installation?
Use the app or recorder to check live video from each camera and walk through the coverage area to confirm motion is detected. Then review recorded clips from both day and night to be sure images are clear, alerts are working, and there are no blind spots that need a different angle or added camera.


.svg)


.svg)