.svg)
Installing home security cameras is a vital step in protecting your property and enhancing your peace of mind. You can secure your home effectively by following a few straightforward steps to install cameras that monitor key areas. Whether you choose a DIY approach or opt for professional installation, understanding the basics will help you make informed decisions.
Knowing where to place your cameras is just as important as the installation process itself. When selecting locations, consider areas that offer the best visibility while avoiding direct sunlight to minimize glare. This strategic placement ensures that your cameras will capture clear footage and effectively deter potential intruders.
Once you've chosen the right cameras and locations, the actual installation can be surprisingly simple. Many systems come with step-by-step guides that make setup accessible for anyone, even if you lack technical experience. By taking these initial steps, you are well on your way to creating a safer environment for your home and family.
Choosing the Right Home Security Cameras
Selecting the right home security cameras is essential for effective surveillance. You need to consider the type of cameras, whether to choose wired or wireless options, and which features best meet your needs. Understanding these factors will help you create a secure environment for your home.
Types of Home Security Cameras
There are several types of home security cameras available. Each serves different purposes and environments.
- Indoor Security Cameras: These are designed for indoor use, often compact, and come with features like two-way audio. They're perfect for monitoring activity inside your home, such as checking on pets or children.
- Outdoor Security Cameras: Built to withstand weather conditions, these cameras often feature night vision and motion sensors. They protect against break-ins and provide a view of the outside areas around your home.
- Battery-Powered Cameras: These offer flexibility since they don't require wiring. Ideal for locations where plugging in isn't feasible, they can be placed in various spots.
Selecting Wired vs. Wireless Cameras
Deciding between wired and wireless security cameras is crucial. Each type has specific advantages and challenges.
- Wired Cameras: Known for their stable connection, these cameras often provide high-quality video. Installation can be complex, as they require Ethernet cables running through your walls or ceilings.
- Wireless Cameras: These are easier to install, often requiring only Wi-Fi. They offer flexibility in placement and the convenience of remote access through apps. However, they may be more susceptible to interference and rely on battery life or power sources.
Consider your home's layout and where you intend to place the cameras when making your choice.
Features to Consider
When choosing home security cameras, evaluate the features that enhance performance. Factors to think about include:
- Resolution: Higher resolution provides clearer images. Aim for 1080p or higher for better detail.
- Night Vision: Essential for monitoring at night, infrared night vision allows you to see in darkness without a visible light.
- Motion Detection: Cameras with built-in motion sensors can send alerts to your phone when activity is detected.
- Two-Way Audio: This feature allows communication through the camera, useful for speaking to visitors or monitoring children.
Make sure the selected cameras cater to both your security needs and ease of installation in the greater Houston area.
Planning Camera Placement
Effective security begins with thoughtful camera placement. By identifying key entry points and other crucial areas, you can maximize your coverage and reduce blind spots. Here’s how to strategically plan your camera placements for optimal surveillance.
Identifying Key Entry Points
Start by pinpointing the main entry points of your home. Focus on areas like the front door, back door, and garage entrance. These locations are common targets for intruders.
Considerations:
- Visibility: Ensure cameras have a clear view of these entry points. Avoid placing them too far away.
- Angle: Cameras should be positioned to capture any approaching individuals. A slight downward angle can enhance visibility.
- Lighting: Ensure good lighting at entry points, as many security cameras rely on light to capture clear images.
Optimal Indoor Camera Locations
Indoor cameras play a vital role in securing vulnerable areas. Install them in high-traffic areas where unauthorized access could occur.
Recommended locations include:
- Living Room: Place a camera to cover entry from hallways or doors.
- Hallways: Capture movement between rooms.
- Garage: Monitor this transition area for any suspicious activities.
Your cameras should avoid facing windows directly, as glare can hinder image quality. Strategically placing cameras can enhance your home’s security significantly.
Effective Outdoor Camera Coverage
For comprehensive surveillance, outdoor cameras are essential. Aim to cover your entire property, especially areas that are less visible.
Key areas to monitor:
- Backyard: This space often lacks visibility from the street. Position cameras to cover all angles.
- Windows: Install cameras to capture activity around first-floor windows, as they are typically more accessible.
- Blind Spots: Identify and eliminate blind spots in your yard by adjusting camera angles.
Utilizing a combination of indoor and outdoor security cameras ensures that both the interior and exterior of your home are efficiently monitored.
Preparing for Installation
Before proceeding with the installation of home security cameras, it's essential to ensure you have everything in place. This includes gathering the necessary tools, assessing power needs, and considering safety measures. Taking these steps will help facilitate a smooth installation process.
Gathering Tools and Supplies
Start by organizing the tools you need for installation. Essential items include a drill, screwdriver, and a ladder for reaching higher areas.
You will also need wall anchors to securely mount the cameras, especially on drywall or in brick. An ethernet cable may be required for wired cameras, while wireless options necessitate ensuring your Wi-Fi signal is strong.
Using fish tape can help when running cables through walls or ceilings, making the process easier and tidier. Have a power adapter handy to connect your cameras, as well as a recording device for storage.
Having all these tools ready will save you time and prevent delays during your installation.
Assessing Power and Connectivity Requirements
Next, evaluate the power requirements for each camera. Some units require a direct power source, while others may be battery-operated. If your cameras need to be plugged in, locate nearby power outlets or consider using extension cords if necessary.
For wired systems, check the length of ethernet cables between the camera locations and your recording device. Ensure the cables can reach without strain, and consider using additional cables if needed.
You should also assess Wi-Fi connectivity if you're using wireless cameras. Ensure your router's signal is strong enough by testing it at the intended installation points.
Safety Considerations
Safety should always be prioritized during installation. Begin by using a ladder properly when accessing elevated areas. Ensure it is sturdy and stable to prevent falls.
If you're drilling into walls, be aware of electrical wiring and plumbing. Use a stud finder to avoid hitting these hidden systems. Always wear safety goggles to protect your eyes from dust and debris.
When running cables, ensure they are secured and not creating tripping hazards. Finally, follow any local regulations or building codes regarding camera placement and installation to stay compliant.
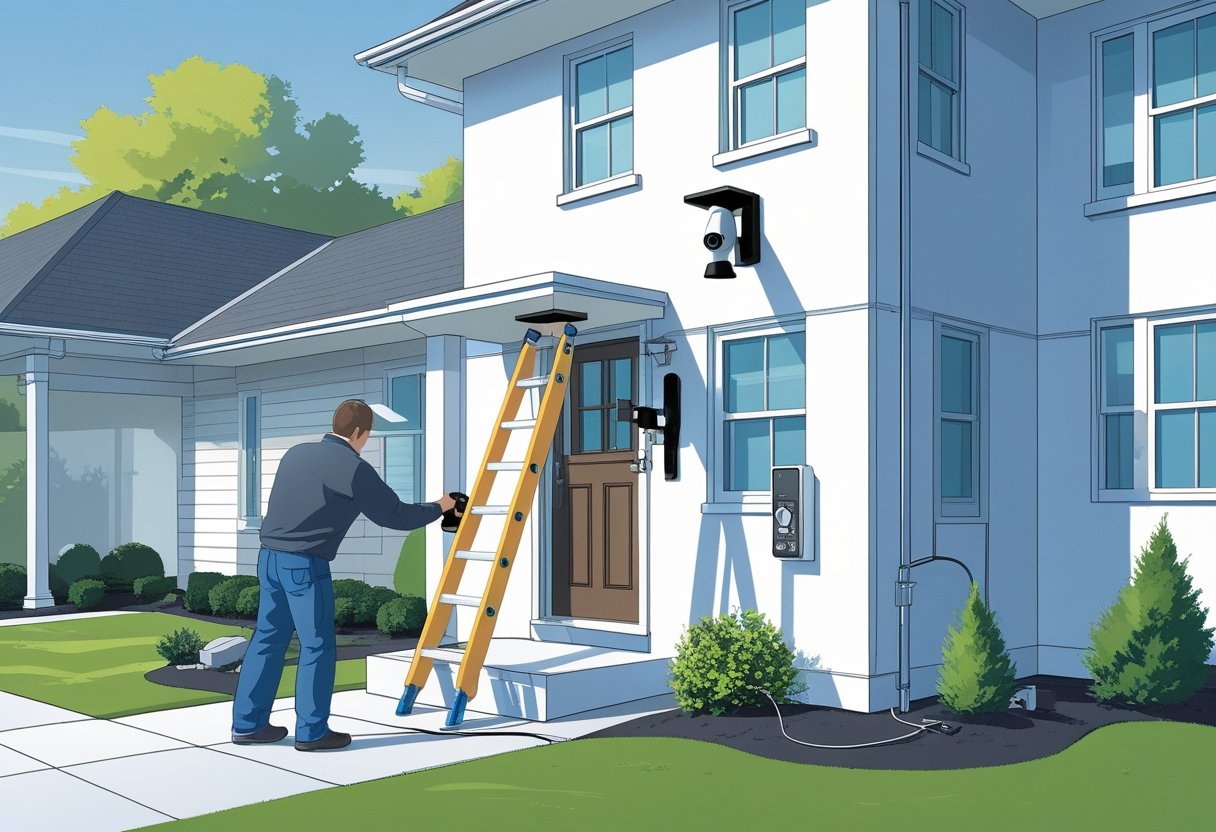
Step-by-Step Security Camera Installation
Installing a home security camera system is a straightforward process that enhances your property’s safety. This guide outlines essential steps for mounting the camera, connecting it to power, and configuring your recording device.
Mounting the Camera
Begin by selecting the optimal location for your security camera. Choose spots that cover entry points and blind spots, ensuring the camera captures a clear view of the area.
Tools Needed:
- Drill
- Screwdriver
- Level
Mark the mounting holes with a pencil after aligning the camera. Use a drill to create holes and insert wall anchors for stability. Secure the camera base with screws, ensuring it is level.
For outdoor cameras, confirm they are weatherproof and aligned to avoid obstructions, such as branches or overhangs. Adjust the camera angle for maximum coverage and visibility.
Connecting to Power
Once the camera is mounted, it's time to connect it to a power source. If your camera operates on battery power, ensure the batteries are fully charged and properly installed.
For wired cameras, locate an accessible power outlet nearby. Use outdoor-rated extension cords if necessary to keep the wiring safe and secure. Ensure that any exposed wires are concealed to prevent tampering or weather damage.
If you are using a DVR or NVR system, connect the camera’s power cable to the corresponding device. This integration allows for seamless data transmission and recording without interruptions.
Configuring the Recording Device
Configuring your DVR or NVR is crucial for effective surveillance. Start by connecting the recording device to your camera using the provided cables.
Follow the manufacturer’s instructions for initial setup, which typically involves connecting to a monitor for easy viewing. Access your home network settings to link the device, enabling remote access through a smartphone app or web interface.
Adjust recording settings according to your preferences: continuous recording, scheduled recordings, or motion detection. Ensure that the device is configured to store footage long enough for your security needs.
By following these steps, you set up a reliable home security camera system that provides peace of mind and protection for your property.
Customizing and Testing Your Security System
To optimize your security system, it’s crucial to adjust settings that enhance its effectiveness. You’ll want to focus on motion sensitivity, integrate smart sensors for better detection, and thoroughly test both coverage and video quality. Each of these components plays a vital role in ensuring security.
Adjusting Motion Sensitivity
Fine-tuning the motion sensitivity of your cameras helps reduce false alarms and improves detection accuracy. Most systems allow you to customize this setting through the app or software.
- Detection Zones: Specify areas where motion will trigger alerts. This could include entry points and driveways, excluding less critical zones.
- Sensitivity Levels: Adjust the sensitivity from low to high based on your environment. For instance, find a balance to avoid unnecessary alerts from small animals or passing cars.
Regularly review these settings, especially if you notice an influx of false alarms.
Integrating Smart Sensors
Incorporating smart sensors adds a layer of security that complements your cameras. These devices can provide notifications when unexpected movement occurs or when doors and windows are opened.
- Types of Sensors: Consider door/window sensors, glass-break detectors, and environmental sensors that monitor for smoke or carbon monoxide.
- Automation: Many systems allow you to integrate these sensors into routines. For example, if a door sensor is triggered, your camera can automatically record and send you an alert.
This integration not only broadens your detection capabilities but can also help in creating a comprehensive security setup tailored to your needs.
Testing Coverage and Video Quality
After setting up your system, it's essential to check that each component operates effectively. Begin by examining coverage.
- Field of View: Ensure that critical areas are within the camera’s view. Adjust angles as necessary.
- Video Quality: Check the resolution settings. Aim for at least 1080p for clear images, especially for identifying faces or license plates.
Perform test recordings to verify both coverage and video quality during different lighting conditions. This ensures your system remains effective both day and night. Regular testing should become part of your maintenance routine.
Professional Installation vs. DIY Options
Choosing between professional installation and DIY options for home security cameras involves assessing your specific needs, budget, and comfort with technology. Each choice has distinct advantages that may influence your decision.
When to Choose DIY Installation
Opt for DIY installation if you have a good understanding of technology and enjoy hands-on projects. This option is often more cost-effective, allowing you to avoid labor fees associated with professional services.
Consider your home's layout and camera placement before deciding. If you’re comfortable with basic tools and following instructions, DIY may be a suitable route. Many modern security systems come with user-friendly setup guides or apps, enabling you to complete installation efficiently.
Moreover, if you plan to integrate multiple systems, a DIY approach lets you customize your setup according to your preferences without constraints.
Benefits of Professional Installation
Professional installation is ideal if you prioritize convenience and expertise. Certified technicians possess the skills to ensure your system is installed correctly and positioned for optimal coverage.
Choosing professionals can save you time and effort. They handle all aspects of installation, including wiring and configuration, allowing you to focus on other tasks.
Moreover, professionals can assess your property and recommend the best camera placements based on their experience. This tailored guidance can enhance the effectiveness of your security system, providing peace of mind that your home is well protected.
In the greater Houston area, many local services specialize in security camera installation and can provide tailored assistance.
Frequently Asked Questions
This section addresses common inquiries about installing home security cameras. You will find specific steps for wireless installations, guidance on wiring, considerations for outdoor placement, and details on CCTV systems and connectivity options.
What are the steps for installing wireless security cameras at home?
To install wireless security cameras, start by selecting optimal locations for camera placement. Ensure they have a clear view of the areas you want to monitor.
Next, mount the cameras using the included hardware. Connect them to your home Wi-Fi network following the manufacturer's instructions. Finally, test the camera feeds to ensure they are functioning correctly.
Can you provide a guide on how to install security camera wiring?
Begin by determining the layout for your camera system, including where the cameras will be positioned. Use a drill to create holes for the wiring in walls or ceilings as necessary.
Run the cables from the cameras to the designated recording device, such as an NVR or DVR. Secure the connections and double-check that everything is properly linked before powering on the system.
What should I consider when installing security cameras outside my home?
When installing outdoor security cameras, ensure they are weatherproof and suitable for the environment. Consider the camera’s field of view and potential obstructions like trees or buildings.
Choose locations that provide a clear line of sight and avoid direct sunlight, which can affect image quality. Additionally, ensure cameras are mounted at a height that deters tampering.
What are the requirements for installing a CCTV camera system?
Installing a CCTV camera system typically requires a power source, a recording device, and compatible cameras. You may also need cables for wired connections or a reliable Wi-Fi connection for wireless systems.
Familiarize yourself with local regulations regarding surveillance cameras, particularly concerning privacy laws in your area.
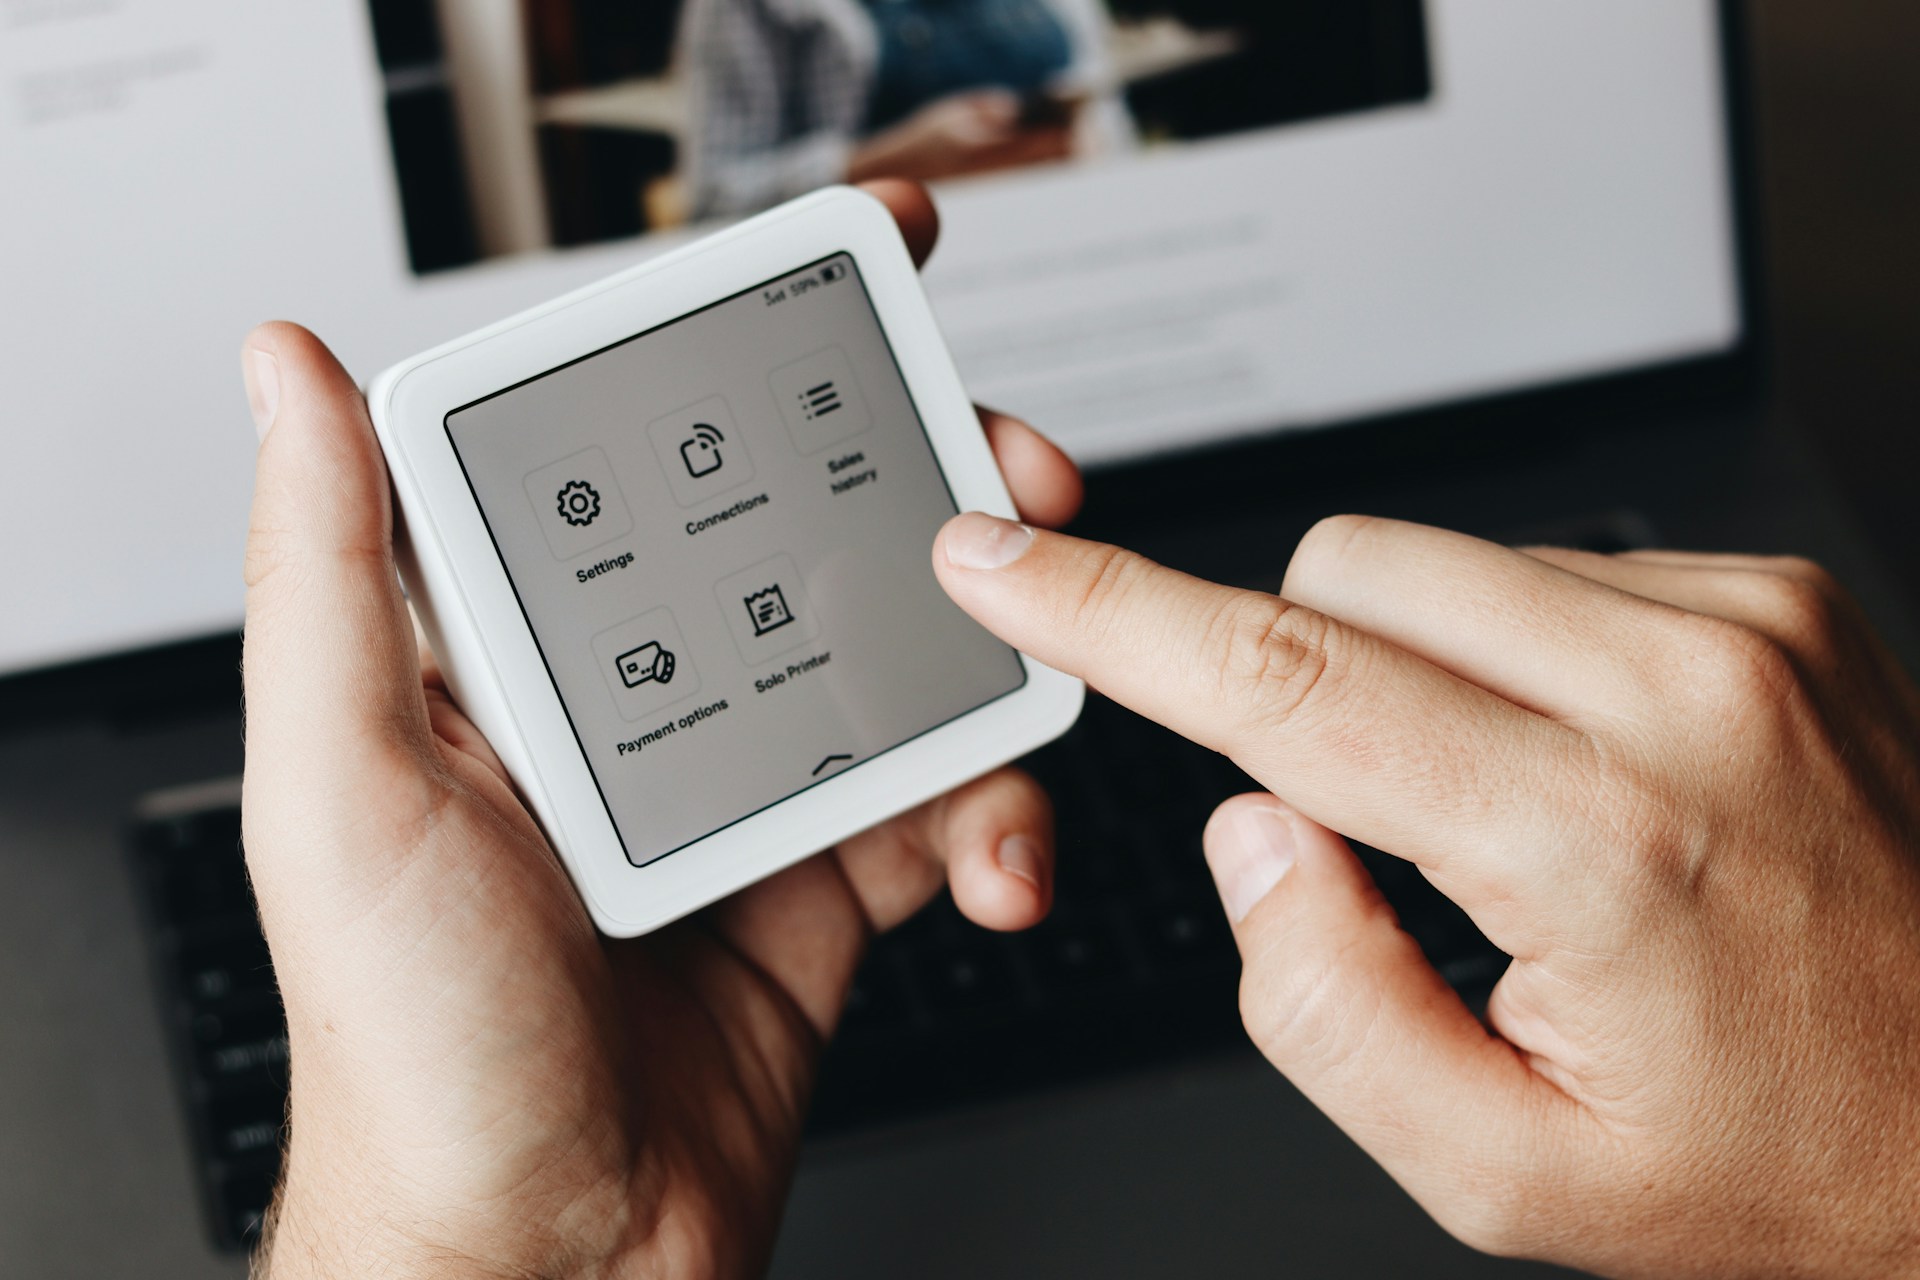
How can I connect a CCTV camera to my mobile device?
To connect a CCTV camera to your mobile device, first download the camera's companion app from the app store. Create an account and follow the app’s setup instructions.
You will typically need to scan a QR code or manually enter the camera's serial number. Ensure both your camera and mobile device are connected to the internet for full functionality.
Where can I find professional security camera installation services?
For professional installation services, consider searching for local providers specializing in security systems. Focus on companies that operate in the greater Houston area to get tailored assistance.
Check online reviews and ask for quotes to compare services and pricing. Always ensure the provider has experience with the specific type of systems you intend to install.

.svg)


.svg)